Going wireless on my temp controller.
On my last post I was describing how I used an Arduino to control the temperature of water in my homebrewing klarstein boiler tank. It is working fine as the temperature control is way better than the stock boiler one… but I needed another project. I wanted to learn how to use an ESP32 chip instead of an Arduino. Upgrading my controller was the perfect fit for that: the ESP32 is a microcontroller that has the specificity of supporting Wifi and Bluetooth! Let’s go wireless.
Objectives
-
Remove all the knobs and buttons from the controller: this would make it smaller, easier to assemble and more waterproof. I was planning on controlling everything from my computer over bluetooth.
-
Allow for logging of temperature on my computer, I don’t know why yet, but I like to have more data for later use
-
Allow for interfacing with my homebrewing software, that may be able to control the temperature directly.
-
Learning PCB designing to avoid the hell I went through wirering the old controller.
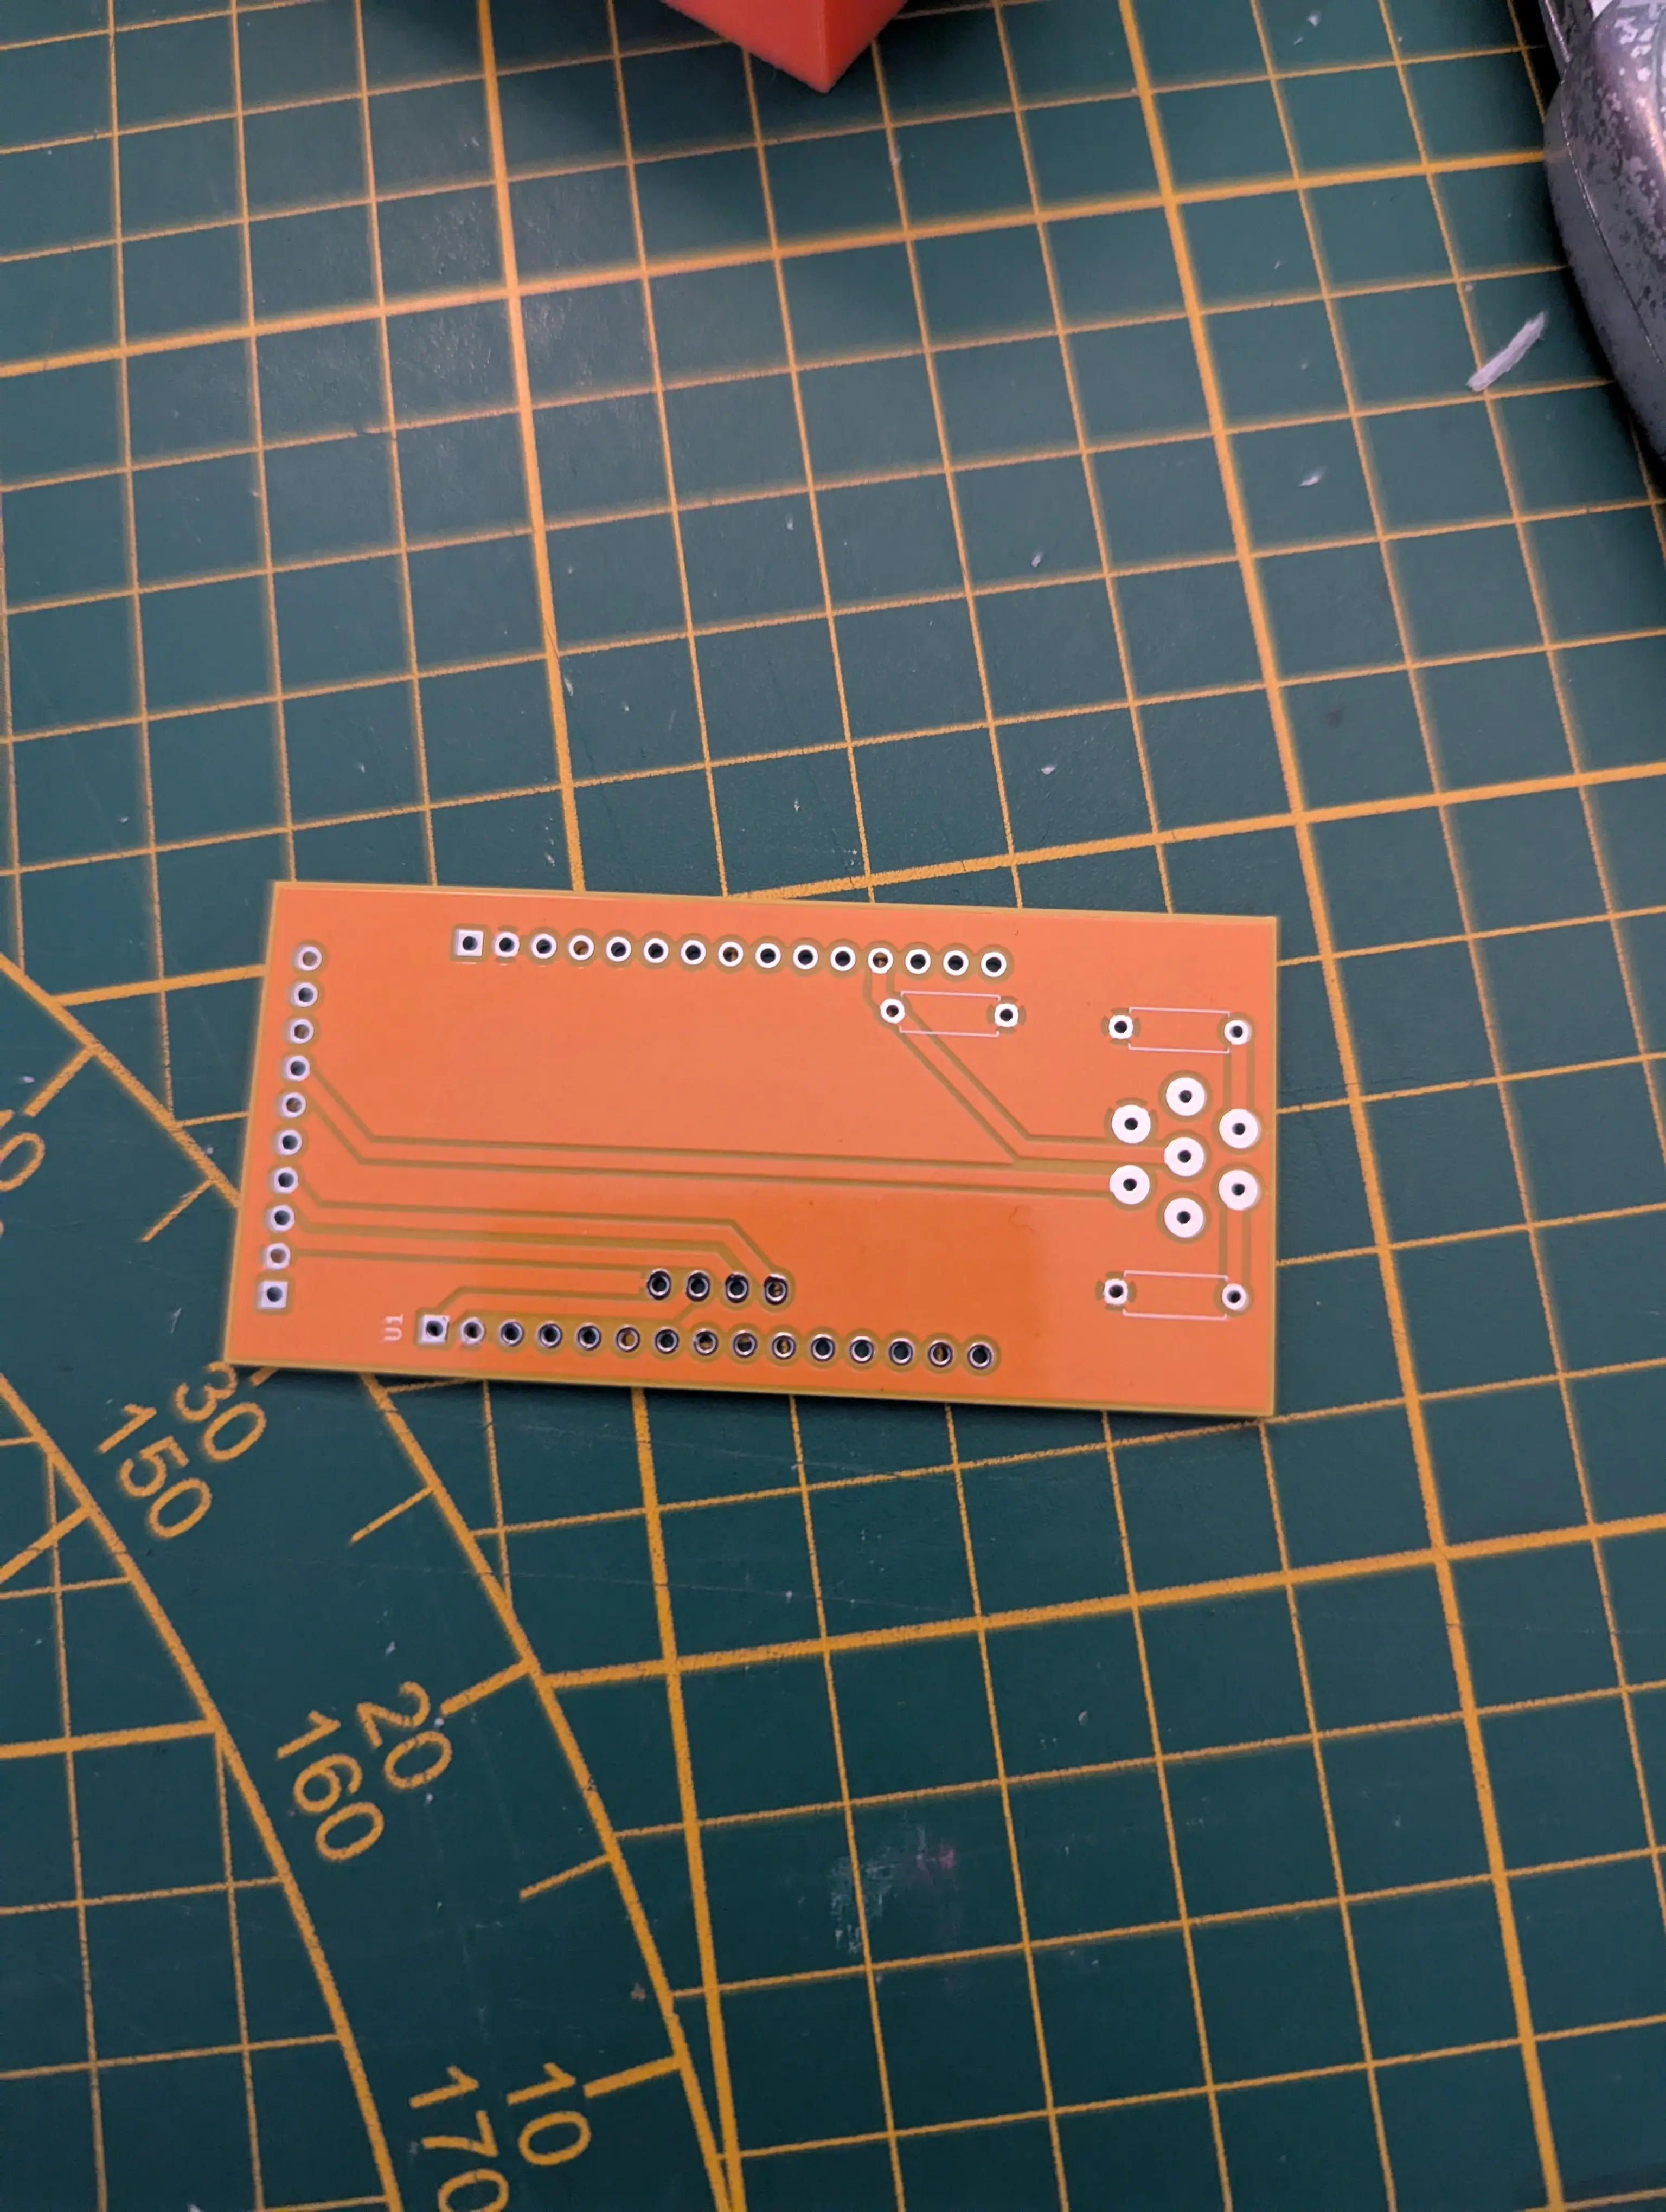
The PCB, beer color
- Learning ESP32 coding.
Initial steps
The plan was to keep the code from the old controller, but expose a bluetooth interface to control everything. However I had to recode everything as I wanted to learn ESP32 programming, which is not totally compatible with Arduino code if you want to avoid compatibility layers. Espressif, the company behind the ESP32 chip is providing a nice framework called esp-idf. However the architecture differs greatly from the Arduino one, switching from main loop functions to individual tasks.
Documentation is nice though, so I managed to use Espressif example project to create a GATT server.
Issues with ESP32 ADC
I had to fix issues as well. Because ESP32 provide wireless, interferences can cause troubles when measuring analog voltage. The embeded analog to digital converter (ADC) is notoriously bad. I needed it to measure the voltage coming from the NTC resistance used to get the temperature of the water. But I had issues with consistency, and precision. Temperature was varying without any reason (gaining or losing 1 C in few seconds without heating). I battled it a bit and just decided to buy a cheap ADS1115 module specifically designed for that.
In the finish product below, you can see the ADS1115 module next to the screen.
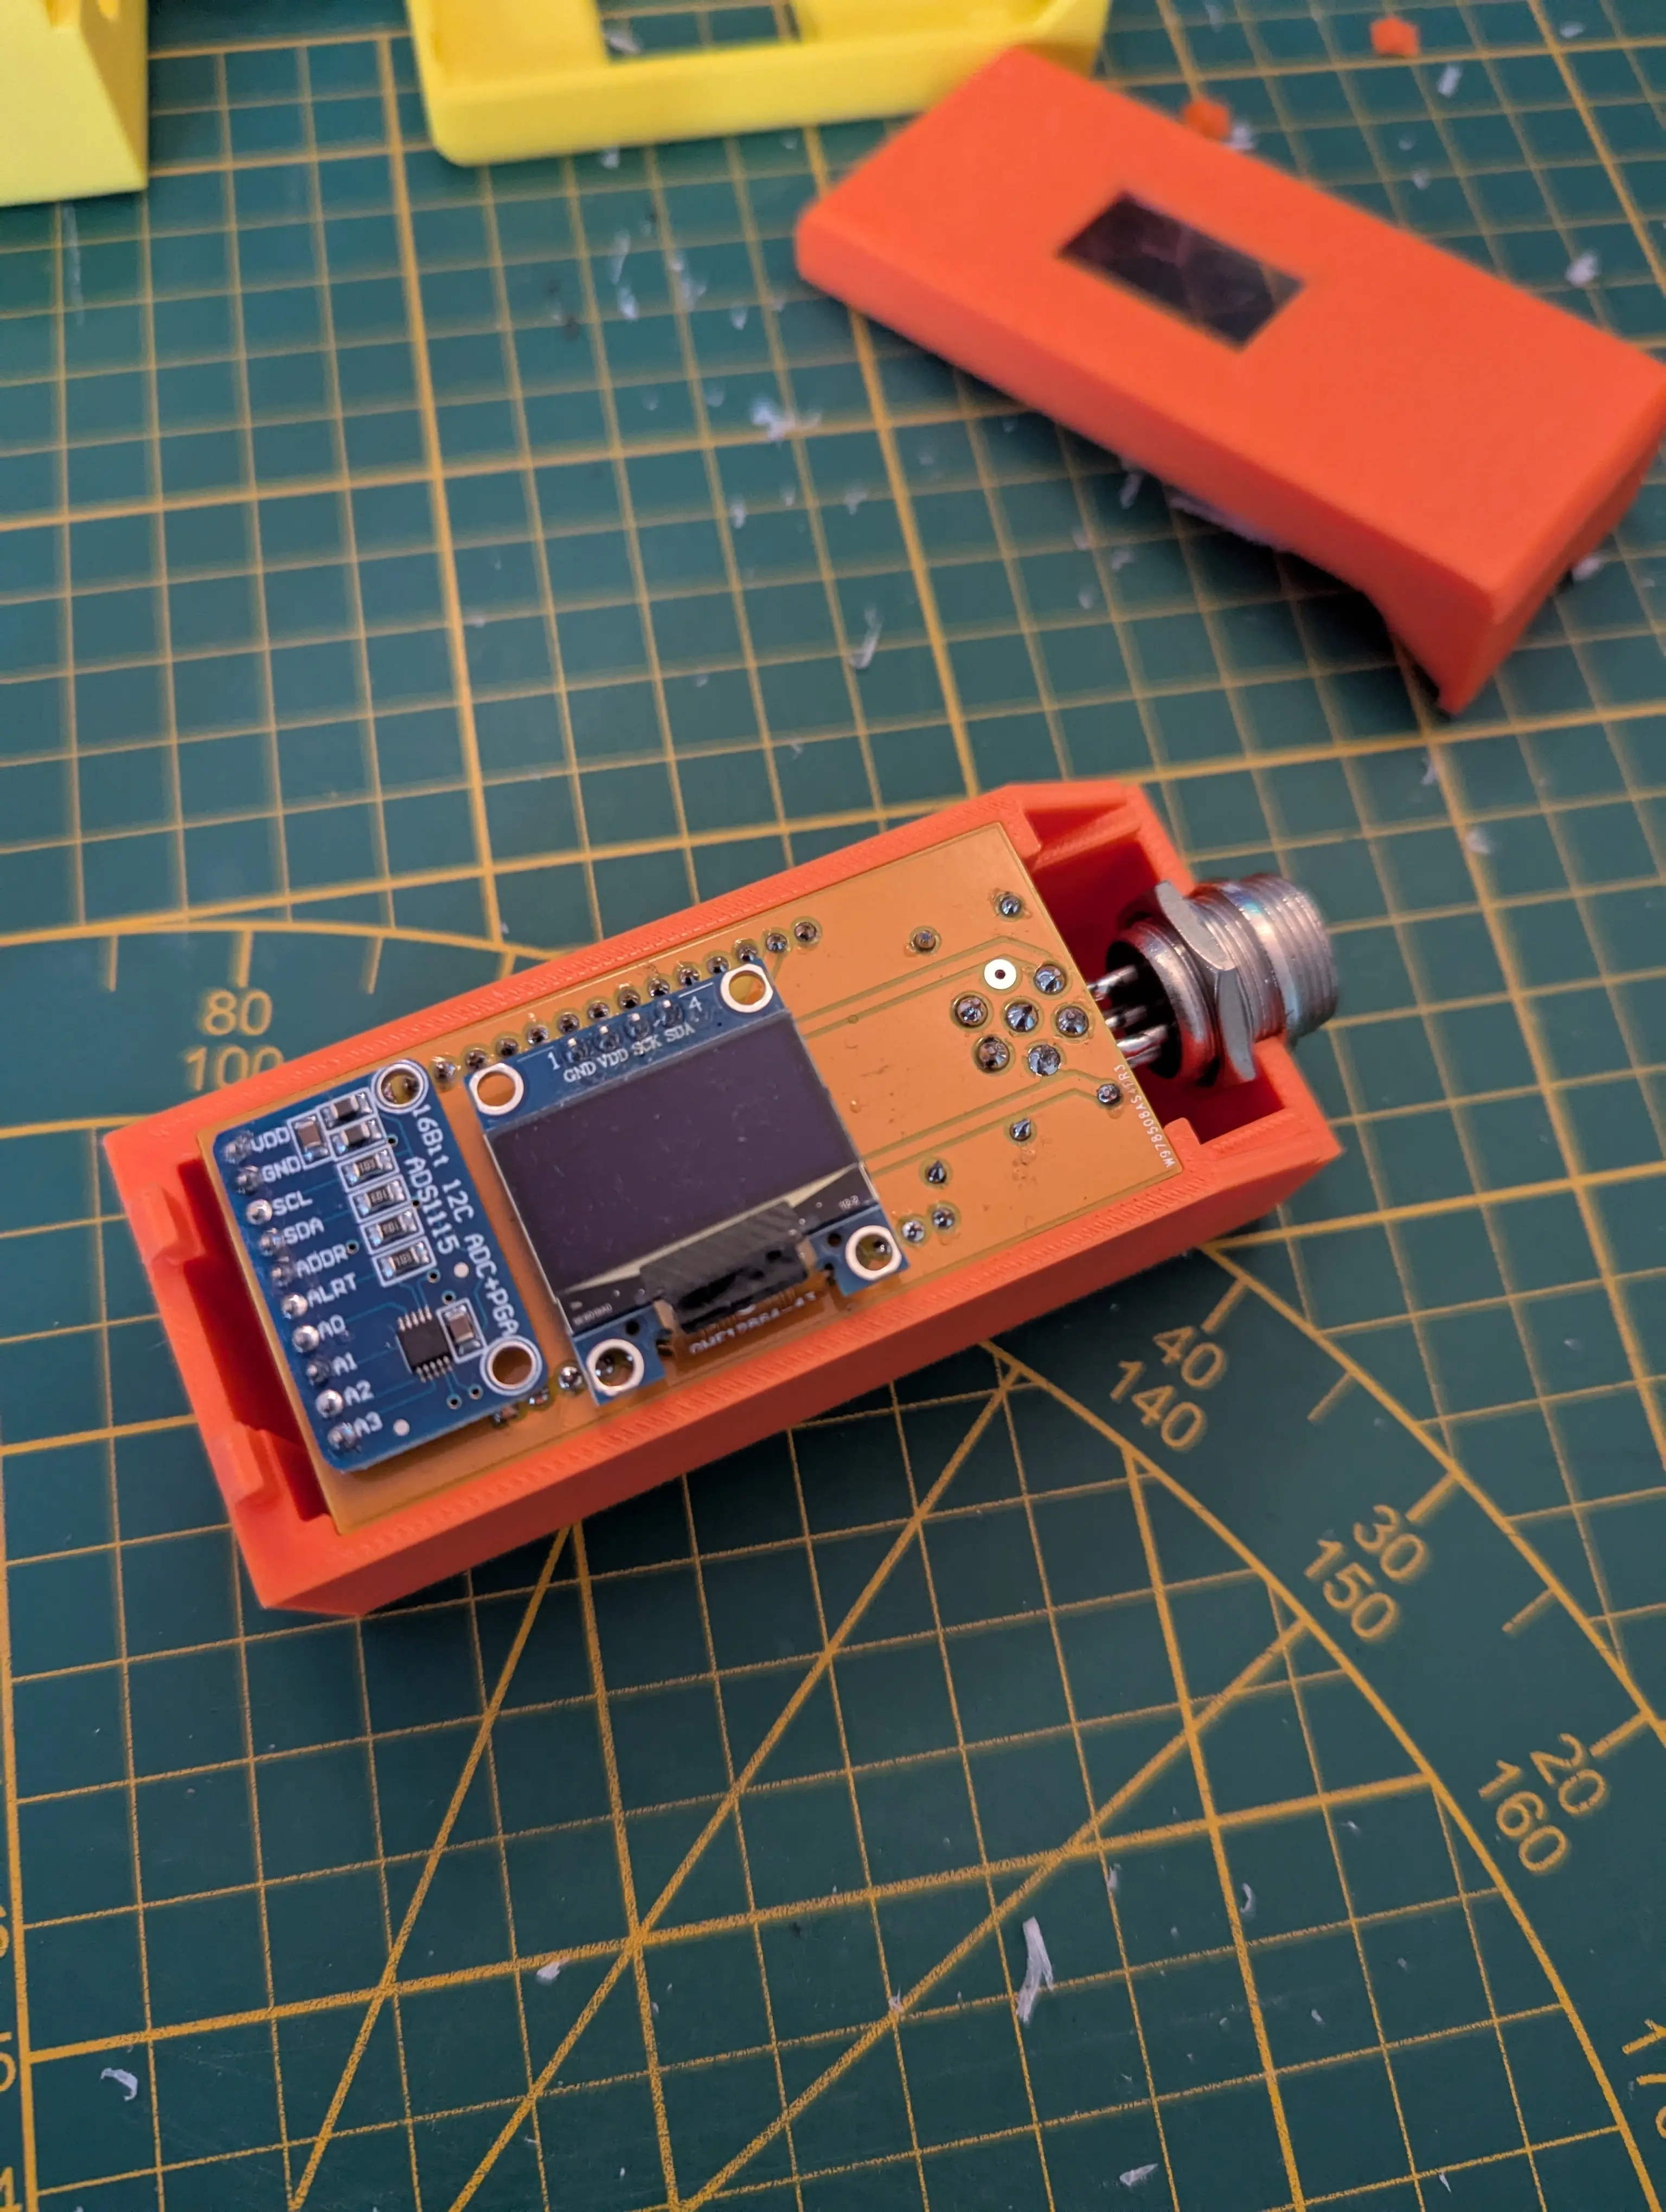
ADS1115 module and screen
NTC recalibrating
I did again the water temp mesurement procedure I had to perform with the old controller. This time however, the curve fitting was not so nice using the NTC formulae for temp/voltage relationship. I figured I’d use a more common and simple polynomial regression which was very good using 4th order.
Final product
I also wanted to create my own PCB, because I did not want to go through the soldering hell of my previous iteration, and I wanted to learn how to design a PCB using KiCAD. Here are pictures of the final product :
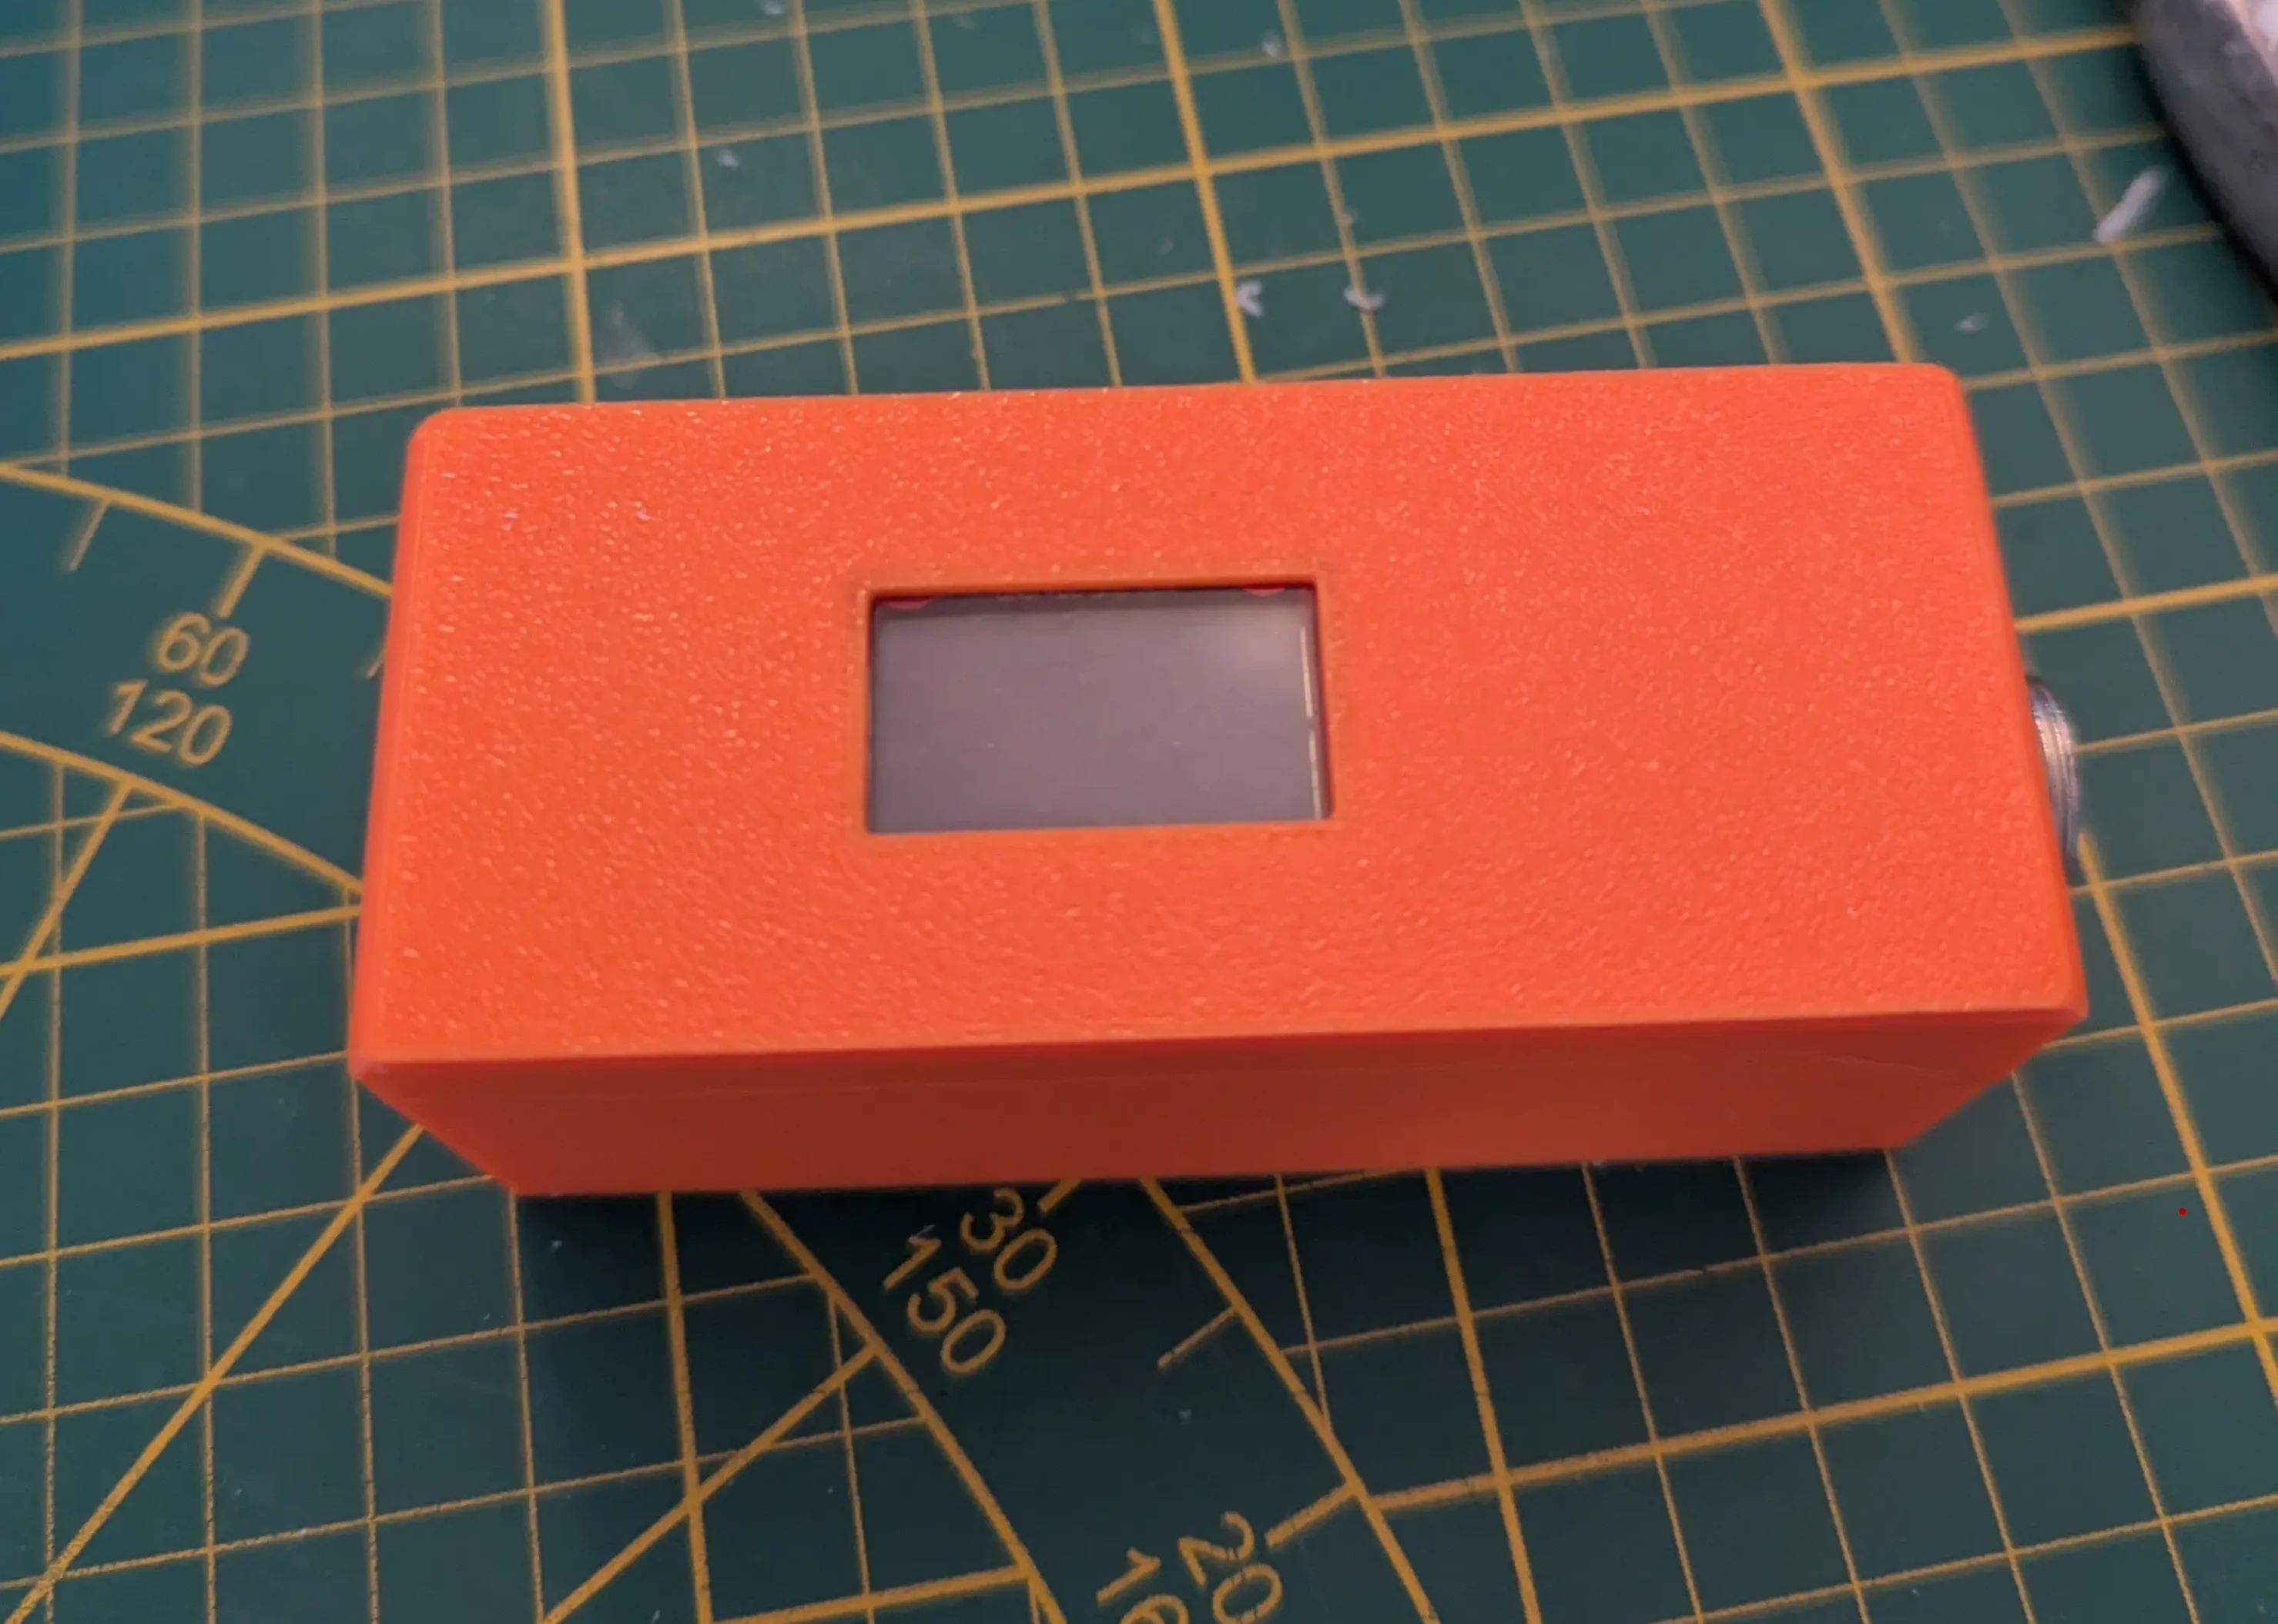
Finished controller

Old version and new kid